


MyPlasm CNC Software
If your Table is equipped with Proma MyPlasm CNC Software you will be required to source the following:
➤ Minimum of 3 GHz Desktop Computer or Laptop, Windows XP or newer with 16 GB RAM, 250 MB storage, 2 USB ports. This computer will be used to install the MyPlasm Software.
Connections as followed:
01. Connect USB Cable from Computer to the Control Box
02. Connect Control Box Power Cable from backside of the Control Box to 110VAC POWER
( Click on image to enlarge. )

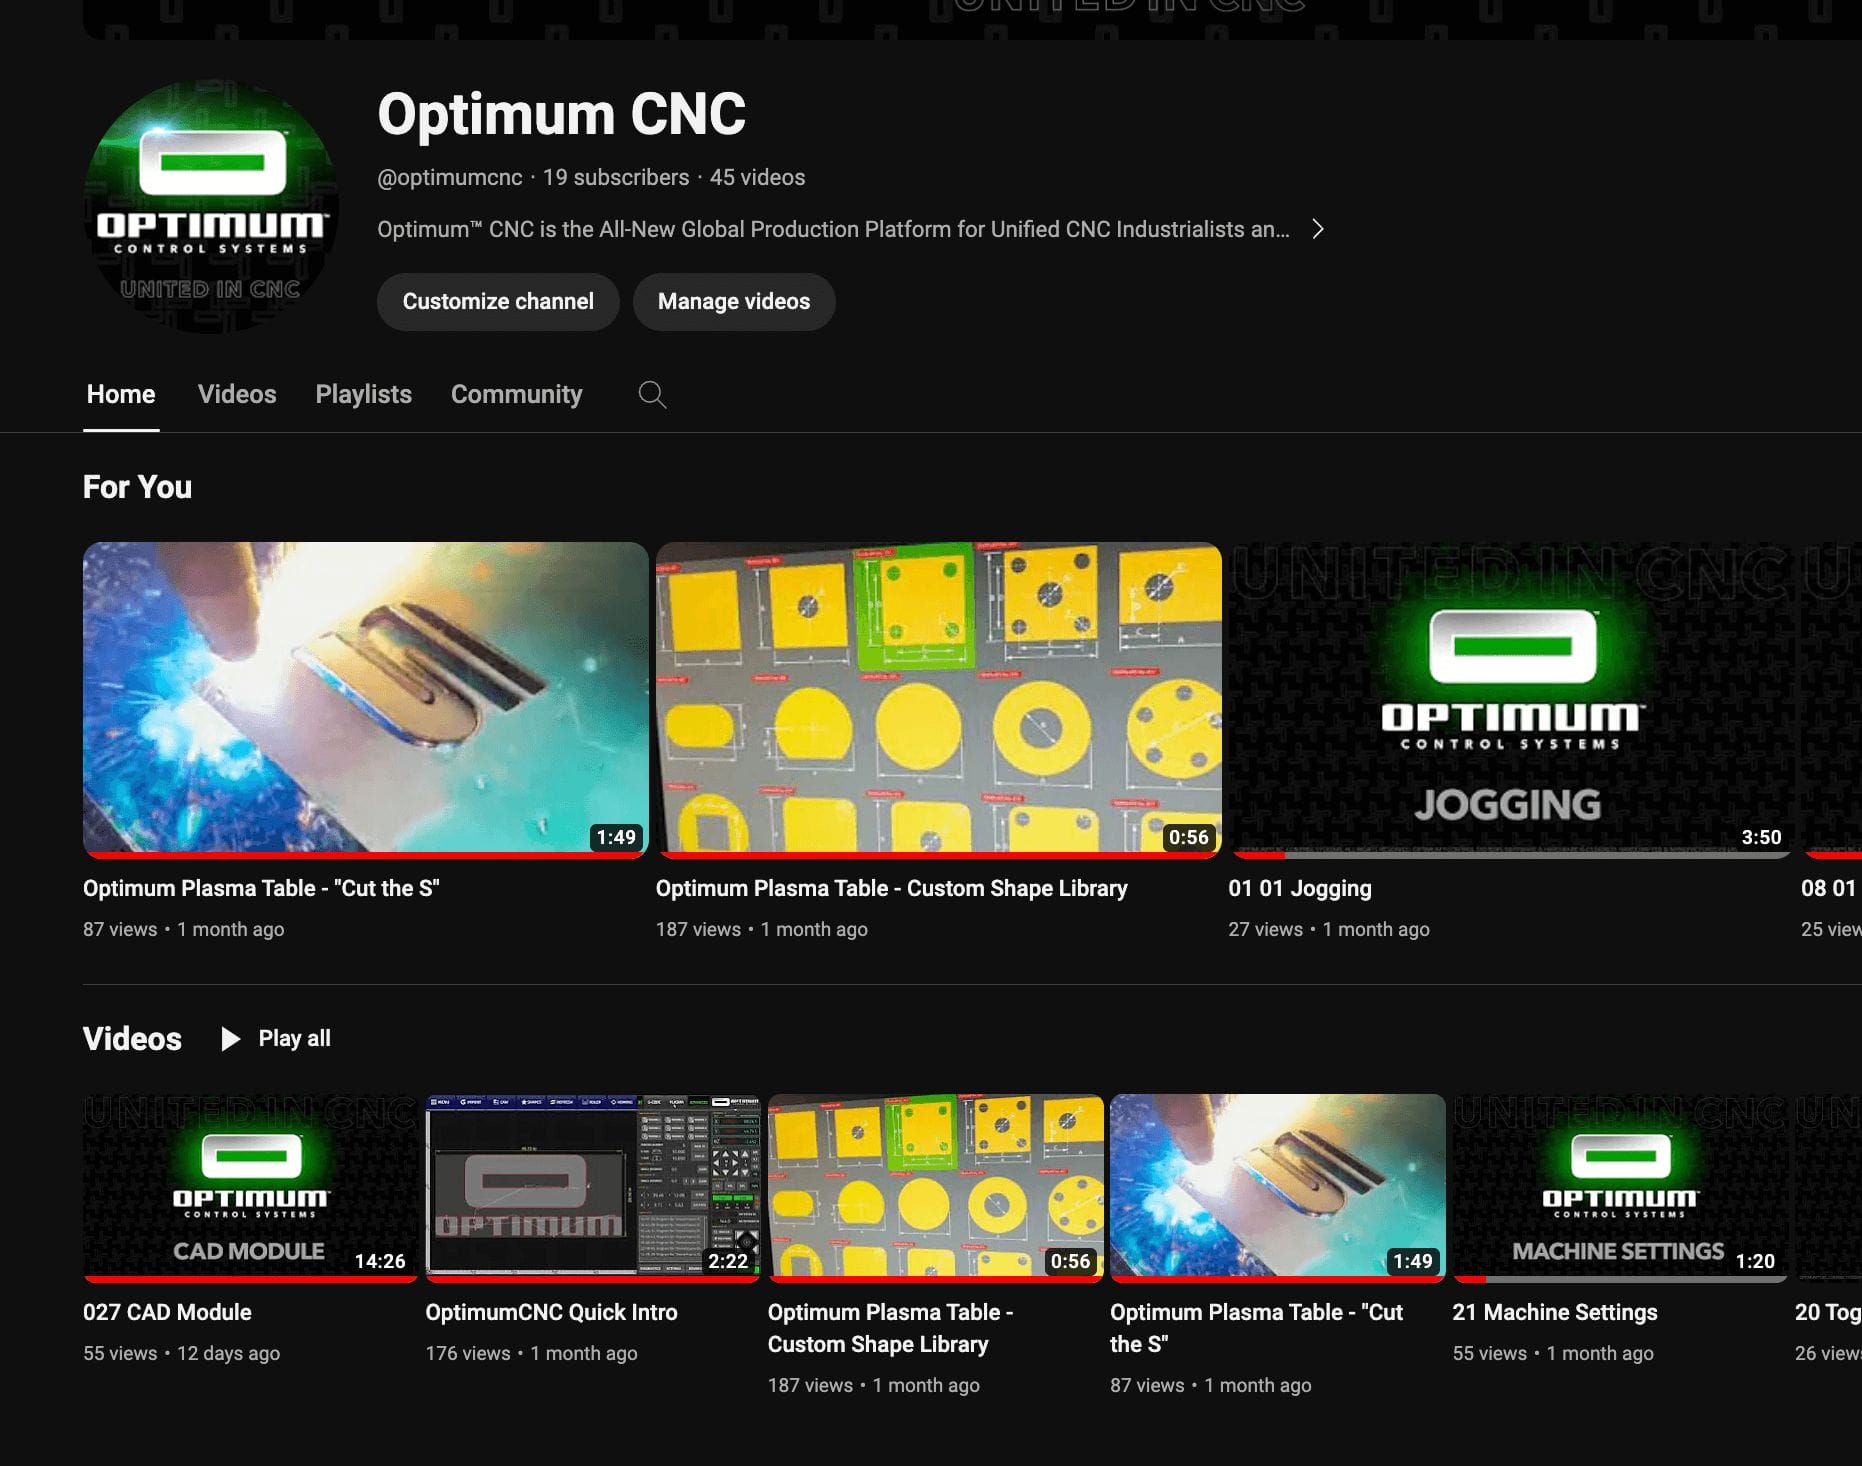
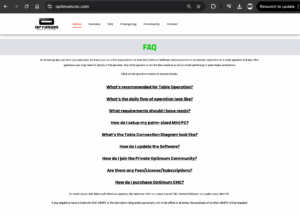
Optimum CNC Software

If your Table is equipped with Optimum CNC Software you will be required to source the following:
➤ Monitor TV with HDMI cable port connection.
➤ Wireless Mouse
➤ Wireless Keyboard
Click here to read Frequently Asked Questions for OptimumCNC Controller Software


Mechanized cartridges provide optimal production performance when cutting. Exceeding optimal thickness range can result in decreases in speed and cut quality. To maximize cartridge life and performance select the correct amperage cartridge for the workpiece you are cutting.
Click here to purchase Non-SYNC Consumables

FineCut® consumables are ideal for cutting intricate, fine-featured shapes out of thin sheet metal. These specialty consumables are specifically engineered to provide squarer edges, tighter tolerances, and a narrower kerf on thin metals.
FineCut® consumables work with both hand-held and machine-mounted Powermax® plasma torches. If cutting by hand, FineCut® usage is straightforward, just install the consumables and start cutting. Although consumable installation and the plasma process are similar for the machine torch, the CNC machine capabilities ultimately determine the level of cut quality that can be achieved.
( Click on image to enlarge. )

Mechanized cartridges provide optimal production performance when cutting. Exceeding optimal thickness range can result in decreases in speed and cut quality. To maximize cartridge life and performance select the correct amperage cartridge for the workpiece you are cutting.
Click here to purchase SYNC Cartridges.
Why are Cartridges better than regular Non-Sync Consumables?
01.CARTRIDGE LIFE:
- Cartridge lasts up to twice as long when hand cutting and provides improved cut quality for mechanized torch simpler ordering and inventory management
- Traditional consumable pieces wear out at different times/rates
02.VERSATILITY & CONTROL:
- Avoid having to stock 5 different consumable parts on hand
- After a quick install onto the torch, system automatically sets the correct amperage without guessing, sets air pressure and goes into cutting mode.
- SYNC torch has built-in controls which allow the operator to adjust the amperage and turn the torch on and off without returning to the power supply.
- Alleviates the process of training on-site employees on usage
- Ability to swap out for other cutting styles: Drag cutting, Bevel cutting, Fine feature cutting, Flush cutting, Extended reach cutting, Gouging
03.ALERTS & DATA:
- Cartridge Reader allows to analyze performance for starts, transfers, arc-on time, and other valuable cartridge data from the cut job into your project cost analysis for customers
- Cartridge notifies 1st and 2nd end of life alerts.
- Cartridge data can help you spot issues early on before consumable life is impacted or a specific project mid cut.
04.TROUBLESHOOTING:
- Reduce inspection time with consumables
- Reduce troubleshooting down to one cartridge piece, instead of 5 pieces in the correct order.
This section answers questions and phrases like: Why are sync cartridges better? Why are Hypertherm sync consumables better? compare sync consumables; standard consumables versus sync cartridges; hypertherm consumable comparison of old and new sync cartridges; benefits of sync consumables; one piece cartridge versus consumables; sync system torch consumable compare; sync cut quality; consumable life; powermax consumable troubleshooting for sync cartridges
( Click on image to enlarge. )

The Hypertherm® cartridge reader works with the Powermax SYNC™ cartridge reader app to provide a simple process for reviewing data stored in Hypertherm® cartridges. The cartridge reader fits into the cartridge and works with the near-field communication (NFC) antenna of your mobile device to transfer data stored in the cartridge into the app. Data in the app can then be imported into the cartridge excel data analysis tool, or a customer created tool, to analyze performance for starts, transfers, arc-on time, and other valuable cartridge data. Analysis of this data helps customers better understand cartridge utilization and identify operator training opportunities.
The Powermax SYNC™ cartridge reader app can be downloaded from most popular app stores.
How to Video: Cartridge Reader

Purchase Cartridge Reader

Download Cartridge Reader App


OPERATOR & INSTRUCTION MANUALS
Cut Charts for Cartridge Adapter on Duramax Torches (Multilingual) (Revision 1)
PDF (5.59MB) ![]()
Powermax45 XP Operator Manual (Revision 4)
PDF (17.26MB)![]()
Safety and Compliance Manual (Revision 9) (Multilingual)
PDF (6.42MB)![]()
Click here for more manuals
OPERATOR & INSTRUCTION MANUALS
Powermax65/85 Operator Manual (806650 revision 4)
PDF (5.71MB) ![]()
Safety and Compliance Manual (Revision 9) (Multilingual)
PDF (6.42MB) ![]()
Troubleshooting for Powermax cutting for Powermax65/85/105
PDF (357KB) ![]()
Powermax machine-side reference guide for mechanized applications with Powermax65/85/105
PDF (1.24MB) ![]()
Service Manual – Powermax65/85 (Revision 4)
PDF (20.36MB)![]()
Click here for more manuals
OPERATOR & INSTRUCTION MANUALS
Powermax105 Operator Manual (807390 revision 3)
PDF (5.74MB) ![]()
Troubleshooting for Powermax cutting for Powermax65/85/105
PDF (357KB) ![]()
Safety and Compliance Manual (Revision 9) (Multilingual)
PDF (6.42MB)![]()
Powermax machine-side reference guide for mechanized applications with Powermax65/85/105
PDF (1.24MB)![]()
Powermax105 Service Manual (807580 revision 3)
PDF (19.59MB) ![]()
Click here for more manuals
OPERATOR & INSTRUCTION MANUALS
Powermax125 Operator Manual (Revision 3)
PDF (15.63MB)![]()
Safety and Compliance Manual (Revision 9) (Multilingual)
PDF (6.42MB) ![]()
Powermax125 Service Manual (English) Revision 3
PDF (34.94MB) ![]()
Click here for more manuals
OPERATOR & INSTRUCTION MANUALS
Getting Started Guide for Powermax45 SYNC (Revision 0)
PDF (11.16MB). ![]()
Operator Manual for Powermax45 SYNC (Revision 2)
PDF (16.92MB) ![]()
Cut Charts for Powermax45/65/85/105 SYNC (Multilingual) (Revision 4)
PDF (5.51MB) ![]()
Mechanized Cutting with Powermax45/65/85/105 SYNC (Revision 5)
PDF (13.1MB) ![]()
Safety and Compliance Manual (Revision 9) (Multilingual)
PDF (6.42MB) ![]()
Click here for more manuals
OPERATOR & INSTRUCTION MANUALS
Operator Manual for Powermax65/85/105 SYNC (Revision 4)
PDF (15.17MB) ![]()
Cut Charts for Powermax45/65/85/105 SYNC (Multilingual) (Revision 4)
PDF (5.51MB) ![]()
Mechanized Cutting with Powermax45/65/85/105 SYNC (Revision 5)
PDF (13.1MB) ![]()
Safety and Compliance Manual (Revision 9) (Multilingual)
PDF (6.42MB) ![]()
Troubleshooting for Powermax65/85/105 SYNC
PDF (16.9MB) ![]()
Click here for more manuals
OPERATOR & INSTRUCTION MANUALS
Operator Manual for Powermax65/85/105 SYNC (Revision 4)
PDF (15.17MB) ![]()
Cut Charts for Powermax45/65/85/105 SYNC (Multilingual) (Revision 4)
PDF (5.51MB) ![]()
Mechanized Cutting with Powermax45/65/85/105 SYNC (Revision 5)
PDF (13.1MB) ![]()
Click here for more manuals

MyPlasm CNC Software
If your Table is equipped with Proma MyPlasm CNC Software you will be required to view the MyPlasm Tutorial Videos (Run Time: 1 hour) available in your “Owner’s Access Link” that was emailed to you along with your shipping confirmation.
➤ In your Owner’s Link you will find a folder labeled “Tutorial videos” with 13 videos to watch. (Run Time: 1 hour)
➤ In your Owner’s Link you will also find a folder labeled “Art Sessions” with design videos to watch for “How to sessions” for Inkscape and Illustrator and exporting files for MyPlasm.
➤ You can also find the MyPlasmCNC Software Manual in your ACCESS LINK under the “Software” folder.
➤ You can also find the PDF User Manual in the software. (Tap on image below to enlarge)


MyPlasm CNC Software
If your Table is equipped with Proma MyPlasm CNC Software you will be updating software in this fashion:
( Click on image to enlarge. )

Optimum CNC Software
If your Table is equipped with Optimum CNC Software you will update your system as followed:
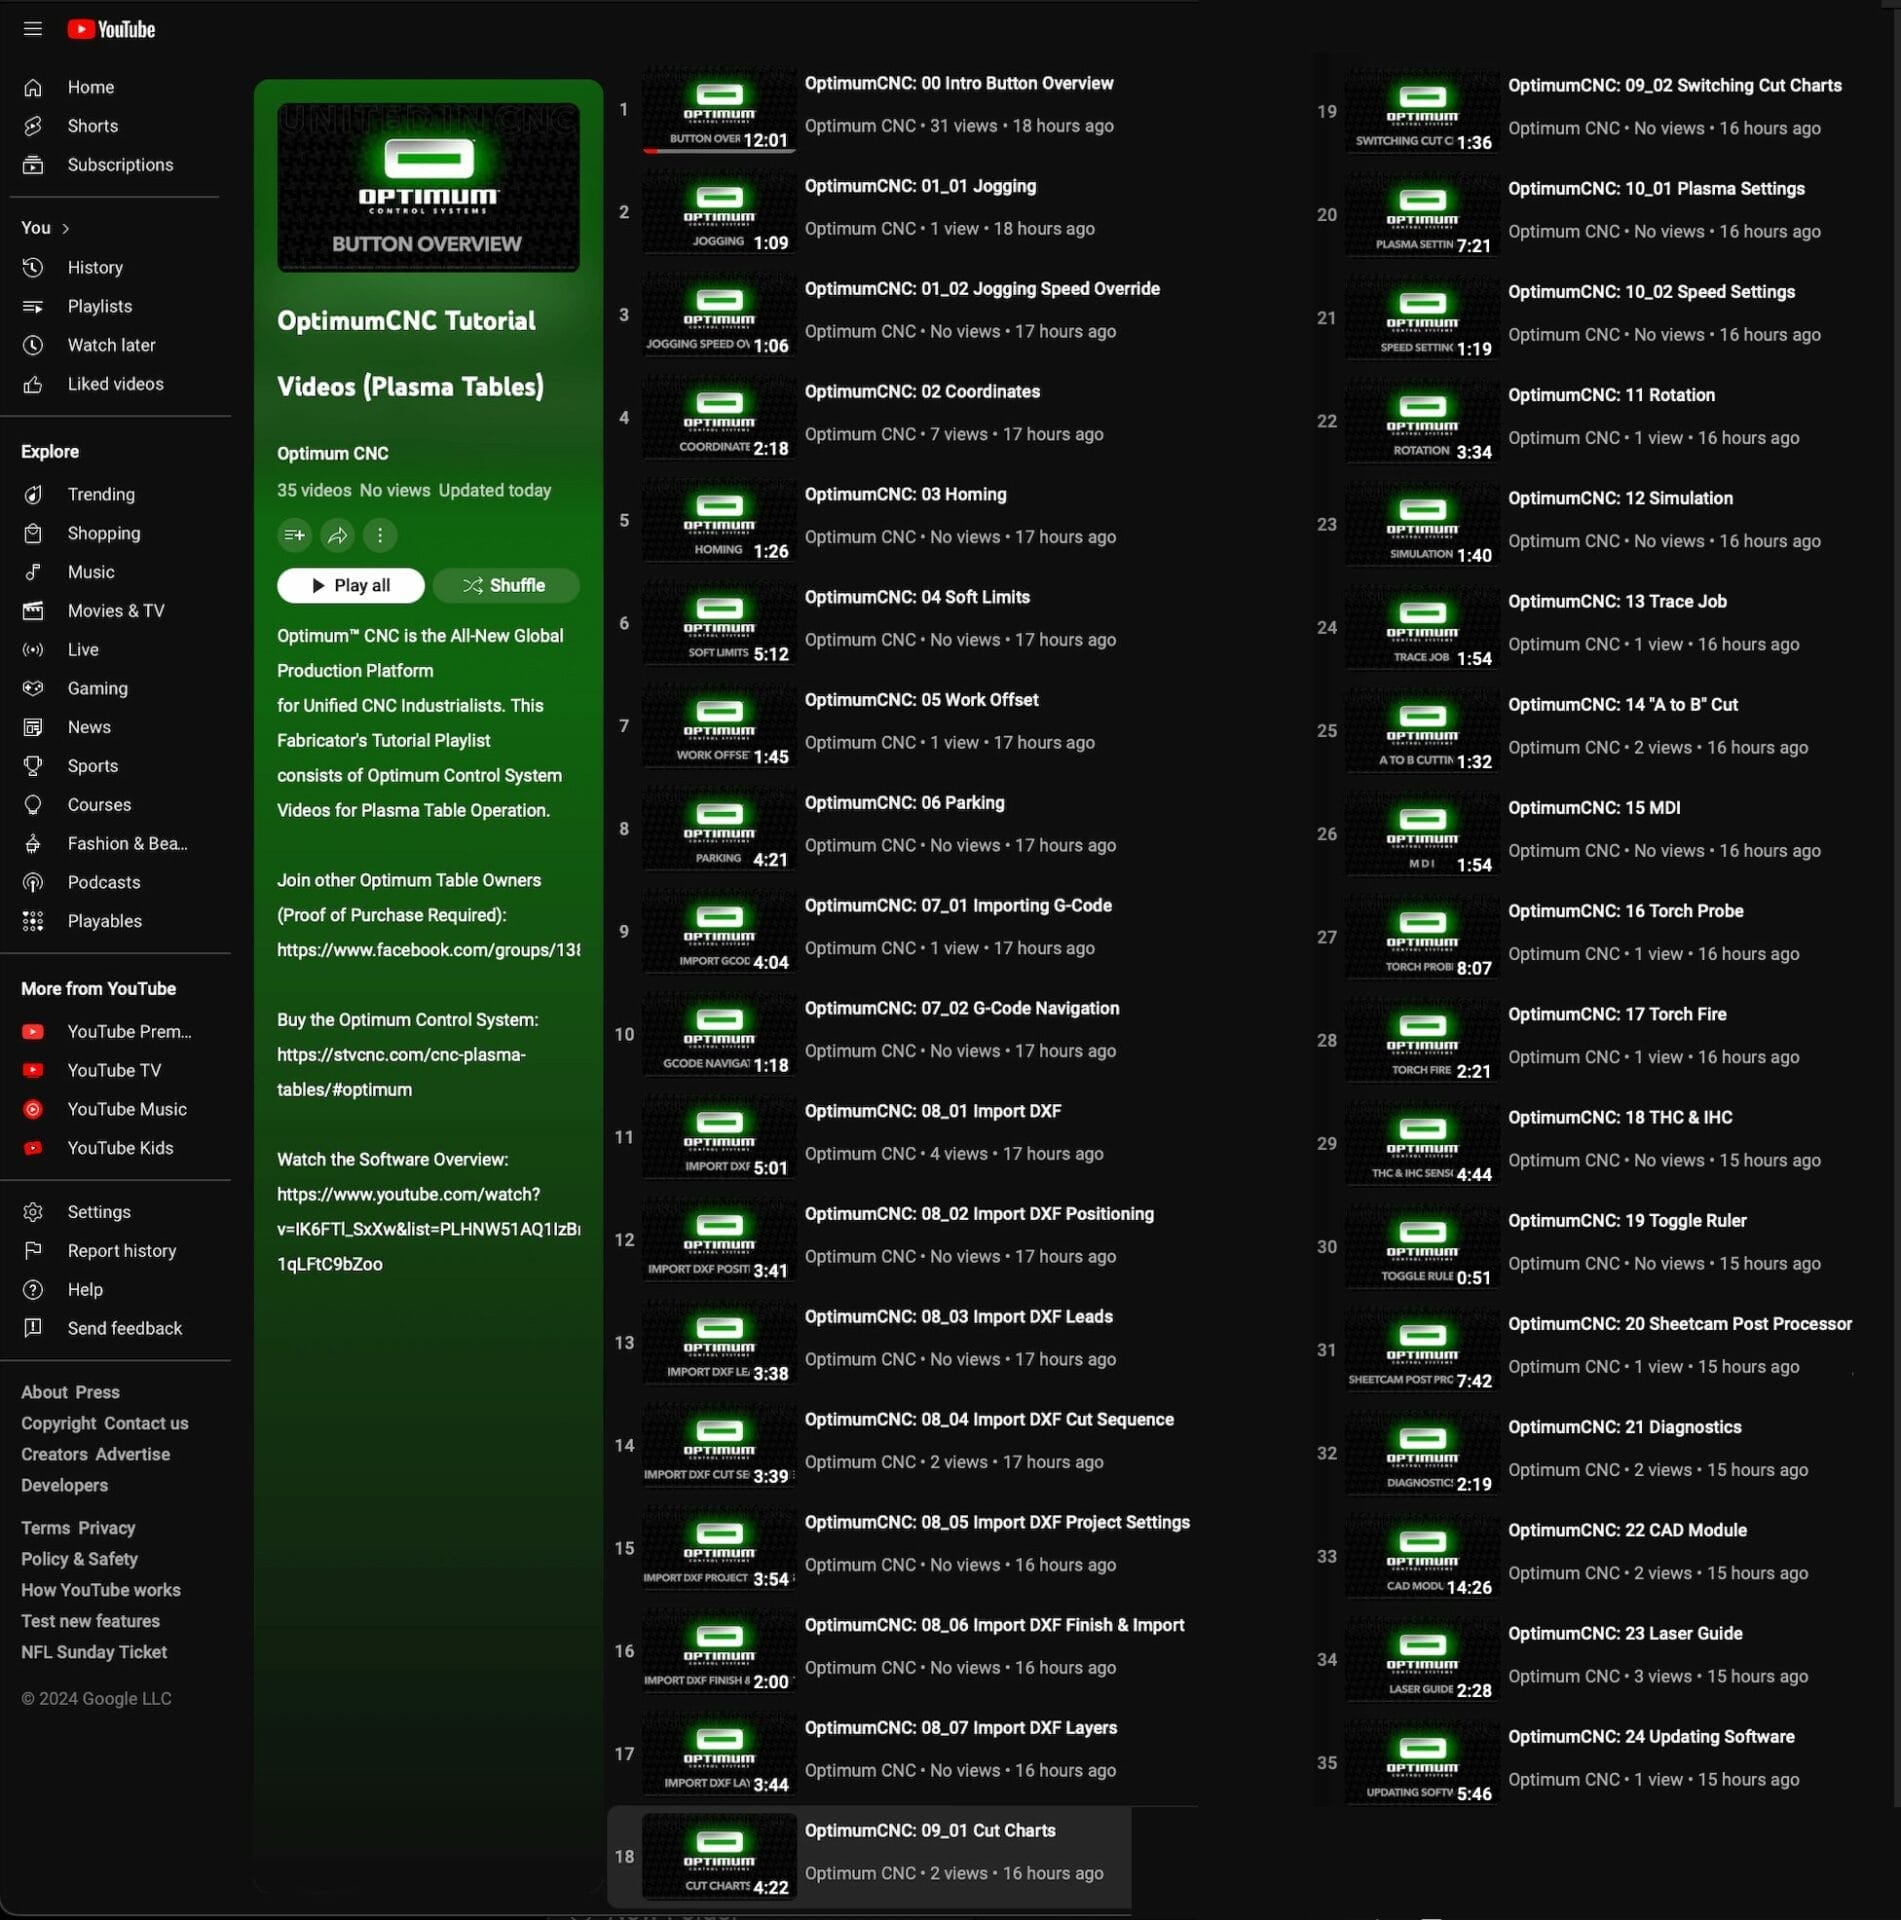
➤ In your Owner’s Link you will find a folder labeled “Tutorial videos” with 37 videos to watch. (Run Time: 2 hours, 15 minutes) Within this folder you will find a video labeled “#24 Updating Software”. Watch this video to follow steps on updating your Profile, Firmware and Software.
( Click on image to enlarge. )